Did you know Google Scripts can be triggered when a form submits to do something? Assigning a function to the onFormSubmit trigger and it will call that function. Let’s build one now to email a response to a submitted form.
We all have sign-ups we use with our school community. Sometimes when some one signs up we need to provide them with a document and other information. With Google Apps Scripts we can automatically send an email to the person that signed up with attachments.
Let’s explore.
Start by creating a form. Be sure to turn on the Email capture or make a field for people to type their email and validate it as an email. Add any other questions to your form that you like. Keep the Allow only 1 response off so we can test with our own email multiple times.
Our script will be built in Google Sheets. IN the form responses link the responses to a new sheet. Open the sheet and select Tools>Script editor. The editor will open in a new tab. Give a name to your script. Remove the pre-populated function, myFunction, so we are working with a blank area. Let’s begin our function:
function formResponse(e){
}
I’m calling it formResponse because it makes sense to me. I made up this name for the function. It’s also case sensitive. So if I use it later I have to be sure it’s typed exactly the same way.
This function is going to take an input of e. e represents the form response. Let’s first take a look at what e looks like when it’s received. We’ll use the Logger for this. In the function type Logger.log(e);
function formResponse(e){
Logger.log(e);
}
This will open the Trigger settings. Click "No triggers set up. Click here to add one now." to add a trigger.
It will likely automatically populate the function we create. The Run column identifies the function to activate. The Events column gives the selection to happen either when something in the spreadsheet happens or time based. The last column is the specific event triggering the function. We can add more than one function to activate when triggered and multiple triggers.
It will likely automatically populate the function we create. The Run column identifies the function to activate. The Events column gives the selection to happen either when something in the spreadsheet happens or time based. The last column is the specific event triggering the function. We can add more than one function to activate when triggered and multiple triggers.
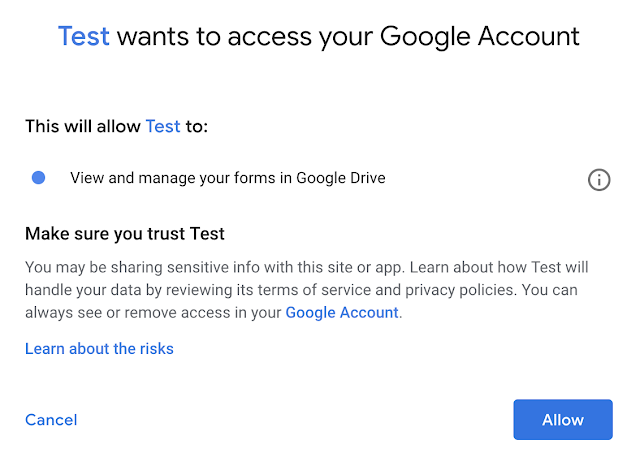
Click Save to save the trigger to our form. You will be asked to approve some permissions. Click Review Permissions. Select your account, then click Allow on the next screen.


Now let's see what data looks like when it comes into the form. Open the form in submission mode. Fill it out and click submit. Our function will have captured the submission in the Logger. To get to the logger click View>Logs. This will open a window floating over our script with the data from the form submission.
When we look at the Logger we are seeing the form submission in the form of a program object. Let’s look closely at the label values. Notice it equals an open square bracket, "[", then some comma separated information followed by a closed square bracket, "]". This is the information submitted through the Form as a list. A list is separated data with an unseen reference called an index. The index starts counting from 0. The first piece of data in the list is the timestamp. Let’s grab the timestamp and show it in our log. To return that value only we would use the input object e and the array values in e with the index 0. Logger.log(e.values[0]);
function formResponse(e){
Logger.log(e.values[0]);
}
When we look at the Logger now we see only the timestamp. With this method we can identify the Email or other response data. We'll look further into how to use the response to do something in the next post.
When we look at the Logger now we see only the timestamp. With this method we can identify the Email or other response data. We'll look further into how to use the response to do something in the next post.


Might want to add that Logger.log(...) is only visible ... but console.log(...) is available with View | stackdriver logging | apps script dashboard or directly in apps script dashboard
ReplyDelete